
Introduction
Congratulations on purchasing a Tank Utility monitor!
This Installation documentation is really only helpful if you own a Tank Utility Device. If you don’t have one already, feel free to order yours today!
As with all products, proper installation is the key to safely realizing all of the benefits your monitor is capable of delivering. Please take a few minutes to read through the instructions prior to installation.
Attaching the Sensor
You can connect the black sensor “boot” into any Rochester or Taylor Remote Ready Dial as shown below. Check compatibility of your gauge dial here.
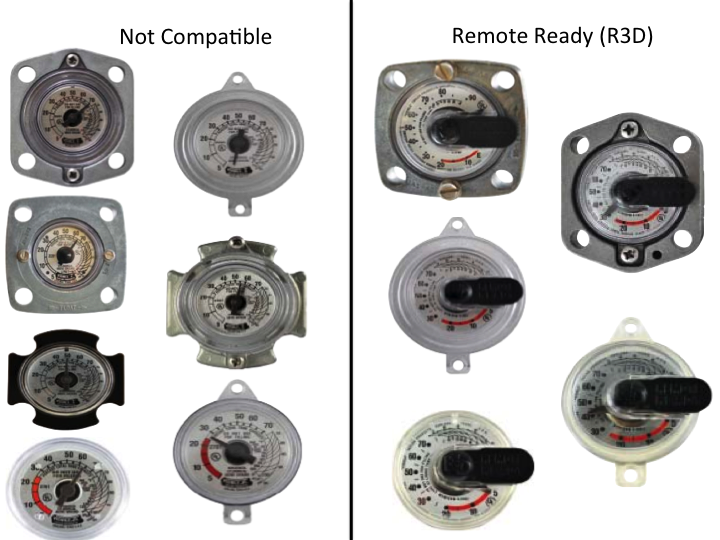

Where applicable, first remove the black dust cap on your tank’s gauge face. To remove the dust cap, simultaneously lift the outer tab while sliding the entire dustcap away from the center of the gauge.
Secure your tank monitor’s sensor by sliding the sensor into the slot, towards the center of the dial until you feel it click (as displayed in the animated picture above). The sensor cable should point up, away from the dial.
Configuring Wi-Fi Network
There are two steps to getting your Tank Utility device up and running: Configuring your WiFi, and adding your monitor to your account.
This first step is a one-time process needed to connect the tank monitor to your Wi-Fi network. You will need the network name (SSID) and password of the Wi-Fi network to which you will connect the device.
![]()
Download the “Tank Utility Setup” app using one of the links below. The app will guide you through the Wi-Fi connection process – come back to these instructions when finished with the setup app!


Adding Your Monitor
The last step of Tank Utility Setup app from above will guide you to the main “Tank Utility” monitoring app. This second step is required to associate your tank monitor with your Tank Utility account.

Download and open the “Tank Utility” app from the app or play store. This app will be your tool for tracking your tank level.
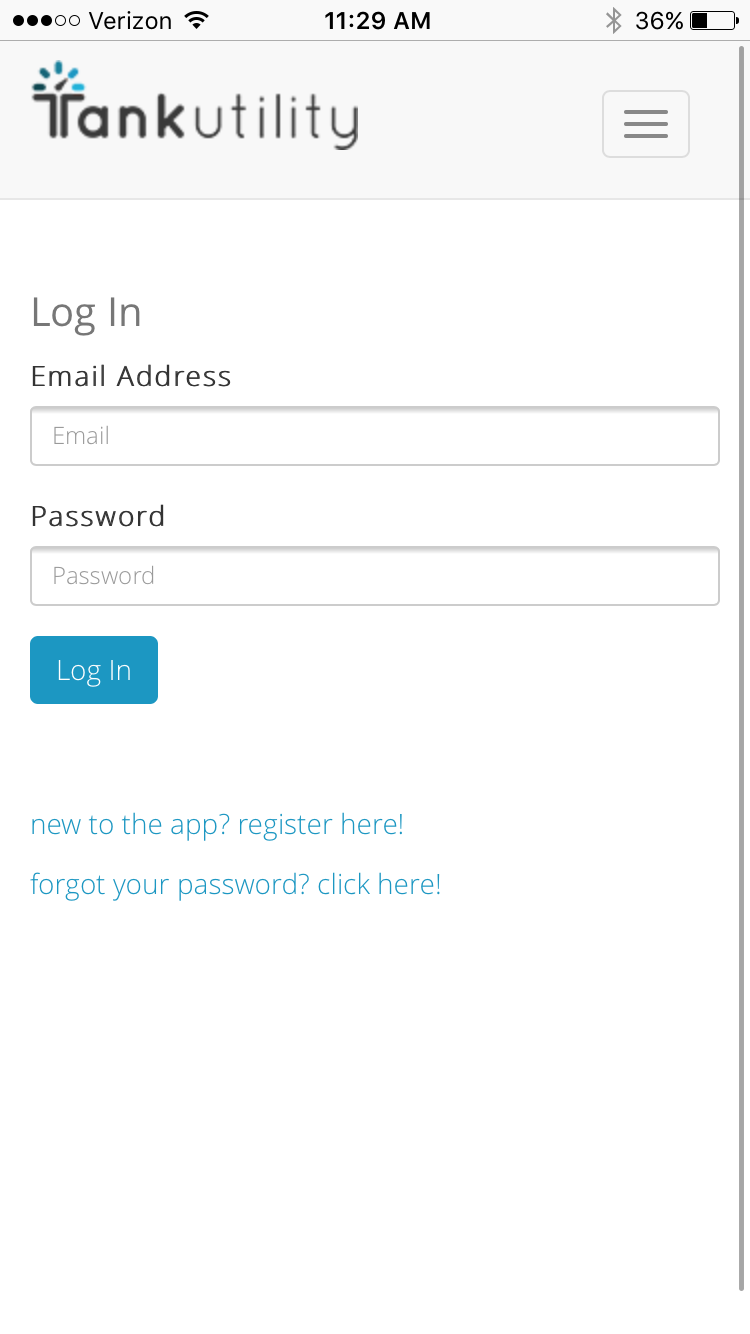
Create Account
If you don’t already have an account, click “Register.” Otherwise, log in to your Tank Utility account.
Assign Tank
Add this tank monitor to your Tank Utility account.
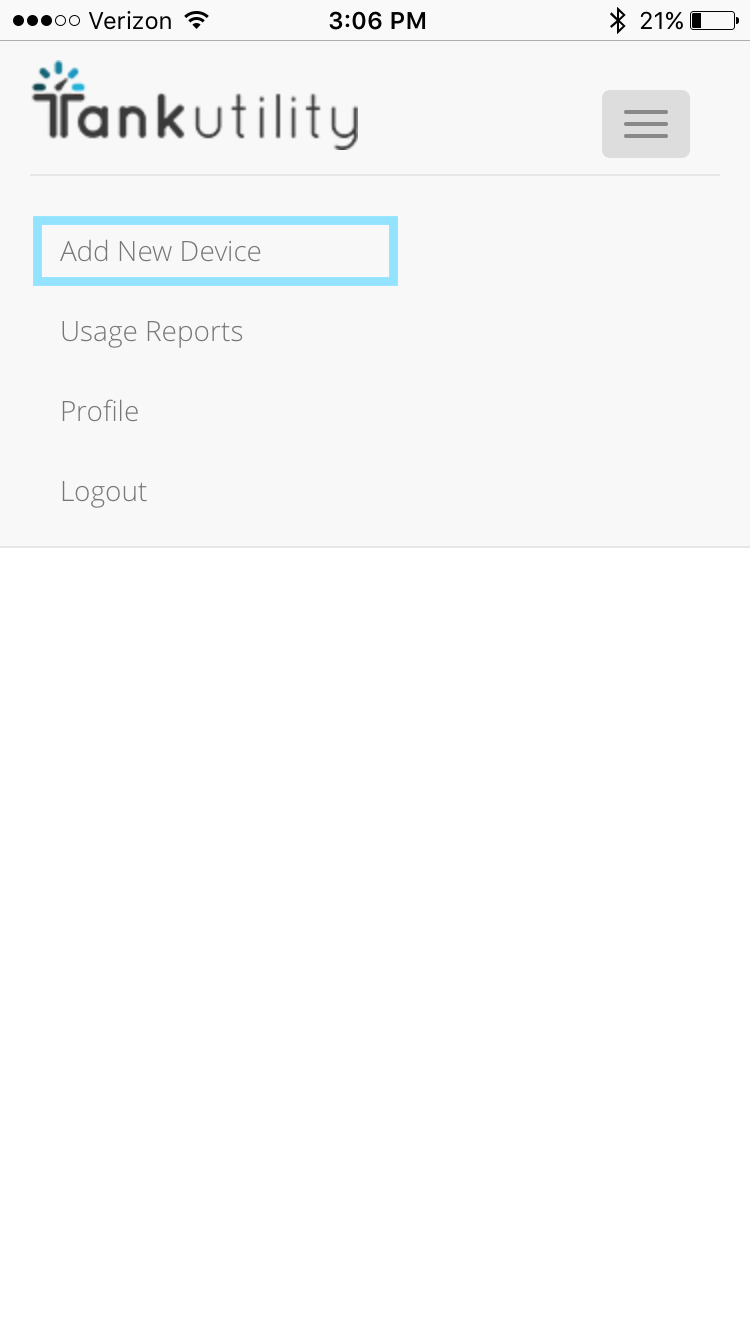
1) Tap on the button with three lines at the top-right
2) Tap on “Add New Device”
3) Follow the instructions in the app, and enter the Device ID printed on the side of your tank monitor (ID is not case sensitive)
4) Provide details about the device including
A name that you use to describe the tank (for example “Lake House Generator Tank”)
The street address where the tank is located
The tank size in gallons
Whether you are monitoring propane or fuel oil
The orientation of the tank, whether vertical or horizontal
Mounting Your Monitor
The monitor can be mounted on steel surfaces such as the propane tank by using the included magnet. If you do not have a steel surface nearby, use the enclosed screw and steel washer for mounting.
Route the sensor and cable through the hole in the bonnet lid or around the bonnet lid of your tank. Take care to not leave the cable in a vulnerable location where it may be pinched by the lid when it is closed.
Zipties have been included to bundle extra sensor cable so it doesn’t get in the way of fuel deliveries.
If you are installing this monitor in a climate that receives more than 6 inches of snow accumulation, consider installing the monitor on an elevated post or under an overhang.
Maintenance
Aside from occasional battery replacement, your tank monitor is designed to be maintenance free!
Your tank monitor comes pre-installed with three AA lithium batteries. The Tank Utility application will alert you when these batteries need to be replaced.
Do not replace batteries when the device is installed on or near a propane tank. Move the device to a location far away from the tank for any maintenance.
Troubleshooting and More Info
General feedback from LED Flashes and Beeps:
| Feedback | Meaning |
|---|---|
| Continuous flashing | WiFi Setup Mode |
| Double short flash upon start | device is awake |
| 1 beep | failed to connect to WiFi |
Button Command Sequences
Power-Up – For turning ON devices (not to be confused with sleep) — press and hold button until LED lights then release.
Take a new reading — Press and release button once to take a reading. Press and release button twice to take a reading with LED flashing sequences to provide feedback.
SETUP MODE is when the device is listening for WiFi credentials (i.e. SSID Network and Password). This mode is indicated by continuous LED flashing. Once WiFi credentials are received, the device’s flashing pattern will change and eventually stop.
The device is in SETUP MODE after it is powered up for the first time. The device will continue to boot up in this mode until WiFi credentials are received. You may erase the current WiFi Credentials and re-enter this mode with the following sequence:
Press and hold button for 5-10 seconds until LED begins flashing then release while the LED is still flashing. The device will then enter SETUP MODE as indicated by continuous flashing.
If the device does not receive WiFi credentials from the Config App within 5 minutes it will power off. You will then need to follow the Power-Up Command Sequence to turn the device back on and try SETUP again with the App.
Troubleshooting Setup
If your Tank Utility monitor exits setup mode (the LED stops blinking) but does not successfully send a reading, and beeps once, it cannot connect to the internet via your access point. Check your Wi-Fi credentials (SSID and password) to make sure you typed them correctly.
Make sure you’re in range of your Wi-Fi network. If your phone or computer has a poor connection at your tank, try temporarily moving the device closer to your Wi-Fi access point to confirm the issue. A WiFi extender may resolve this issue.
Check your router settings per the details below.
Wireless Router Settings:
The device works best with a traditional home network: simple networks with WPA/WPA2 (or unsecured), with a single router from a reputable company (Apple, Netgear, Linksys, D-Link, etc.) without any fancy settings. The more your network diverges from the norm, the more likely you are to encounter issues.
The following types of networks commonly cause problems:
5GHz networks. The WiFi module uses 2.4Ghz 802.11b/g/n networks, and cannot use the 5Ghz bandwidth.
Networks using WEP security. Problems with this type of security are rare, but the easiest solution is to change your network’s security type to WPA or WPA2.
Networks with “captive portal” security and complex networks. A captive portal is the little website that comes up to ask you to sign in to a network or sign an agreement, like at a Starbucks. The Tank Utility monitor can’t navigate these portals.
Networks with multiple routers, with non-standard firewalls, and with non-standard settings can also cause some issues.
Troubleshooting
Check your Wi-Fi credentials (SSID and password) to make sure you typed them correctly.
Make sure you’re in range of your Wi-Fi network. If your phone or computer has a poor connection at your tank, try temporarily moving the device closer to your Wi-Fi access point to confirm the issue. A WiFi extender may resolve this issue.
Check your router settings per the details above.
Make sure you have the required operating system on your mobile device. Currently, for apple products that only includes iOS 8.
You can test if your router is causing the issues by creating a WiFi hotspot with your phone and connecting your monitor to that network. Or you can try to configure your monitor on a friend’s WiFi network.